
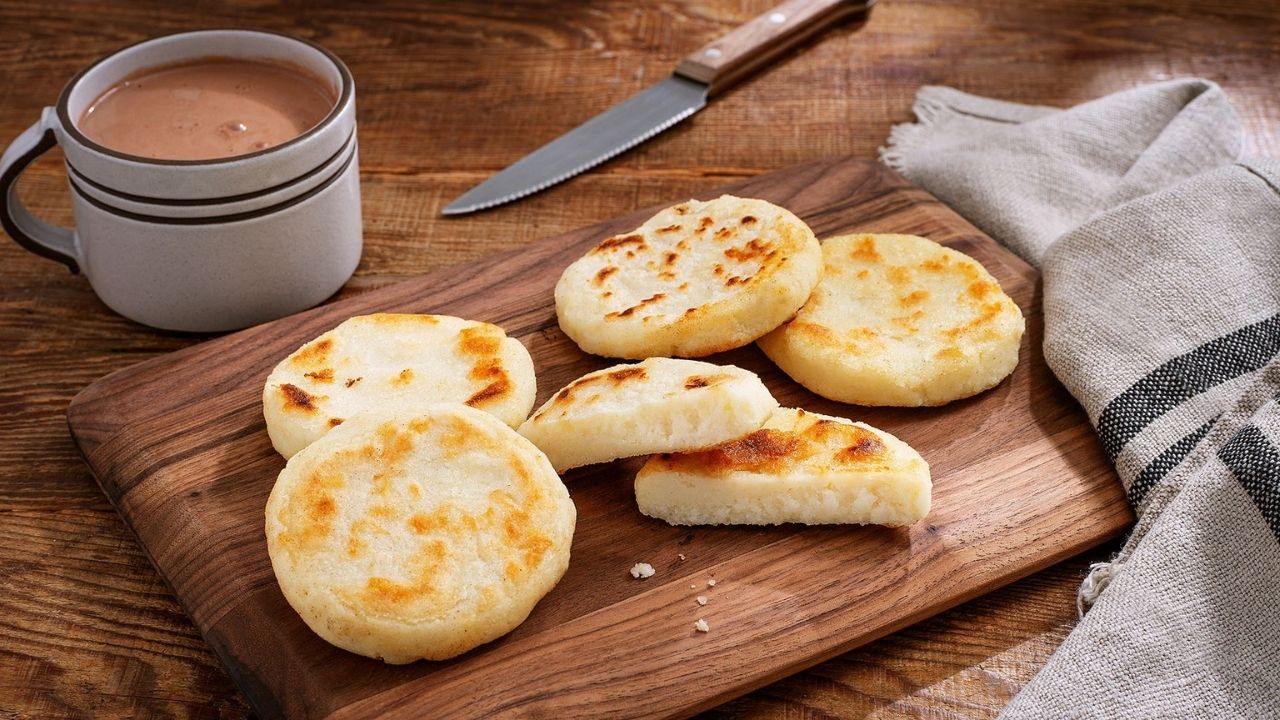
Arepas are a traditional dish from Venezuela and Colombia, made from precooked cornmeal that is formed into patties and cooked until golden brown. These versatile treats can be enjoyed on their own or stuffed with a variety of fillings, making them a perfect addition to any meal.
One key ingredient in this recipe is precooked cornmeal, also known as masarepa. This is different from regular cornmeal and can usually be found in the Latin American section of your supermarket. Make sure to get the right type, as it is essential for achieving the authentic texture and flavor of arepas.
Ingredients For Arepas Recipe
Precooked cornmeal: This is the base of the arepas, giving them their unique texture and flavor.
Warm water: Used to hydrate the cornmeal and form the dough.
Salt: Enhances the flavor of the arepas.
Vegetable oil: Used for cooking the arepas to a golden brown.
Technique Tip for Making Arepas
When mixing the cornmeal with water, make sure to use your hands to break up any lumps and achieve a smooth consistency. This ensures that the dough is evenly hydrated and will result in a better texture for your arepas.
Suggested Side Dishes
Alternative Ingredients
precooked cornmeal (masarepa) - Substitute with corn flour (masa harina): Corn flour can be used as it has a similar texture and is also made from corn, though it may alter the flavor slightly.
warm water - Substitute with broth: Using broth instead of water can add extra flavor to the arepas.
salt - Substitute with sea salt: Sea salt can be used as it provides a similar salty taste with a slightly different mineral profile.
vegetable oil - Substitute with olive oil: Olive oil can be used as a healthier alternative with a rich flavor profile.
Other Alternative Recipes Similar to Arepas
How to Store or Freeze Arepas
Allow the arepas to cool completely before storing. This prevents condensation, which can make them soggy.
For short-term storage, place the arepas in an airtight container or wrap them tightly in plastic wrap. Store them in the refrigerator for up to 3 days.
To reheat refrigerated arepas, preheat your oven to 350°F (175°C). Place the arepas on a baking sheet and heat for about 10 minutes, or until warmed through.
For longer storage, freeze the arepas. First, place them on a baking sheet in a single layer and freeze until solid, about 1-2 hours. This prevents them from sticking together.
Once frozen, transfer the arepas to a freezer-safe bag or container. Label with the date and store for up to 3 months.
To reheat frozen arepas, preheat your oven to 350°F (175°C). Place the frozen arepas directly on a baking sheet and bake for 15-20 minutes, or until heated through and crispy.
Alternatively, you can reheat frozen arepas in a skillet. Heat a small amount of vegetable oil over medium heat and cook the arepas for about 5 minutes on each side, or until warmed through and golden brown.
Avoid microwaving arepas as it can make them rubbery and less enjoyable.
How to Reheat Leftovers
Oven Method:
- Preheat your oven to 350°F (175°C).
- Place the arepas on a baking sheet.
- Heat for about 10 minutes, flipping halfway through to ensure even warming.
- For a crispier texture, broil for an additional 1-2 minutes.
Stovetop Method:
- Heat a skillet or griddle over medium heat.
- Add a small amount of vegetable oil or butter to the pan.
- Place the arepas in the skillet and cook for 3-4 minutes on each side, until they are heated through and slightly crispy.
Microwave Method:
- Place the arepas on a microwave-safe plate.
- Cover with a damp paper towel to retain moisture.
- Microwave on medium power for 1-2 minutes, checking to ensure they are heated through.
Toaster Method:
- Slice the arepas in half horizontally.
- Place them in a toaster or toaster oven.
- Toast on a medium setting until they are warm and slightly crispy.
Air Fryer Method:
- Preheat the air fryer to 350°F (175°C).
- Place the arepas in the basket in a single layer.
- Heat for 5-7 minutes, shaking the basket halfway through for even heating.
Best Tools for Making Arepas
Mixing bowl: Use this to combine the cornmeal, water, and salt, ensuring a smooth mixture.
Measuring cups: Essential for accurately measuring the cornmeal and water.
Teaspoon: Needed to measure the salt precisely.
Tablespoon: Used to measure the vegetable oil.
Griddle: Ideal for cooking the arepas evenly over medium heat.
Skillet: An alternative to the griddle for cooking the arepas.
Spatula: Helps in flipping the arepas to cook both sides evenly.
Knife: Useful for dividing the dough into equal parts.
Plate: To place the cooked arepas once they are done.
Paper towels: To drain any excess oil from the cooked arepas.
How to Save Time on Making Arepas
Prepare ingredients in advance: Measure and set out the precooked cornmeal, warm water, salt, and vegetable oil before starting.
Use a food processor: Mix the cornmeal, water, and salt in a food processor for a smoother dough.
Preheat the skillet: While the dough rests, preheat the griddle or skillet to save cooking time.
Batch cooking: Cook multiple arepas at once if your griddle or skillet is large enough.
Store extra dough: Make extra dough and store it in the fridge for quick use later.
Arepas Recipe
Ingredients
Main Ingredients
- 2 cups precooked cornmeal (masarepa)
- 2.5 cups warm water
- 1 teaspoon salt
- 1 tablespoon vegetable oil
Instructions
- In a mixing bowl, combine the cornmeal, water, and salt. Mix until smooth.
- Let the dough rest for 5 minutes.
- Divide the dough into 8 equal parts and shape into patties.
- Heat the oil in a griddle or skillet over medium heat.
- Cook the arepas for about 5-7 minutes on each side, until golden brown.
Nutritional Value
Keywords
Suggested Appetizers and Desserts
More Amazing Recipes to Try 🙂
- Apple Pie Shot Recipe5 Minutes
- Thai Sweet Sticky Rice with Mango Recipe50 Minutes
- Halloween Candy Corn Jell-O Shots Recipe30 Minutes
- Cinnamon Roll Recipe45 Minutes
- Hot Dog Sauce Recipe30 Minutes
- Peanut Butter Bars Recipe15 Minutes
- Southern Black-Eyed Peas Recipe1 Minutes
- Cherries Jubilee Recipe20 Minutes
Leave a Reply